
The August 2020’s soap challenge hosted by Amy Warden at the soap challenge club was named "Layers with Drop Swirls" and is sponsored by the very talented Tatsiana Serko of Creative Soap by Steso. It required us to combine layers of coloured cp soap (at the bottom) and drop swirls (at the top). The Since I have been soaping for over a year, I had to enter the advanced category, which meant I had to incorporate a third design element within the soap itself.
 I made two attempts at this technique. The first batch had nine, relatively thin layers at the bottom - five of them coloured using various mica. I must admit that I haven't made soap in ages and I have forgotten a few "DOs and DON'Ts" ... so in the process I made several mistakes that eventually led to this miserable mess of a result. In between layers, I would pop the mould into a warm oven to set the layers up faster and because I used TD in the white part of the soap PLUS an accelerating fragrance oil to speeden things up AND a low water discount, I am guessing they all led to what you can all see ... look at those glycerin rivers!
I decided to do a bit of reading to remind myself of what causes these rivers and after reading this very interesting post I decided to heed Clara's advice and give it another shot. I chose to use a 25% water as percentage of oil weight.
I chose to fragrance my soap with a lavender/rosemary/lemongrass essential oil blend to be safe - it also smells wonderful. A soothing/calming scent! I thought pastel colours in green, purple and blue for my layers and drops and white for the rest of the soap would suit the soft fragrance. I measured out the lye solution and heated the oils (750g) and calculated how much I'd need for the four layers I planned to make. I then added 1 tsp of TD to the oil mix and blended it well. I weighed out 60g oil into a separate container, added 3g of the essential oil and mica to it, mixed thoroughly, then weighed out & added the appropriate amount of lye solution, mixed and poured it into the mould to form the first layer. I did that for the three bottom layers, only changing the mica used each time. In between the layer pours, I placed the mould into the fridge for each consecutive layer to set. Once I had poured three layers (purple, green and blue) I created my 'third design element' by pouring a fourth layer created using an 'in the pot' swirl.

Once that had slightly stiffened, I used the back of a spoon to texture the top of the fourth layer (I'd call that my fourth design element) and created a few peaks I hoped would create a wave effect once cut.
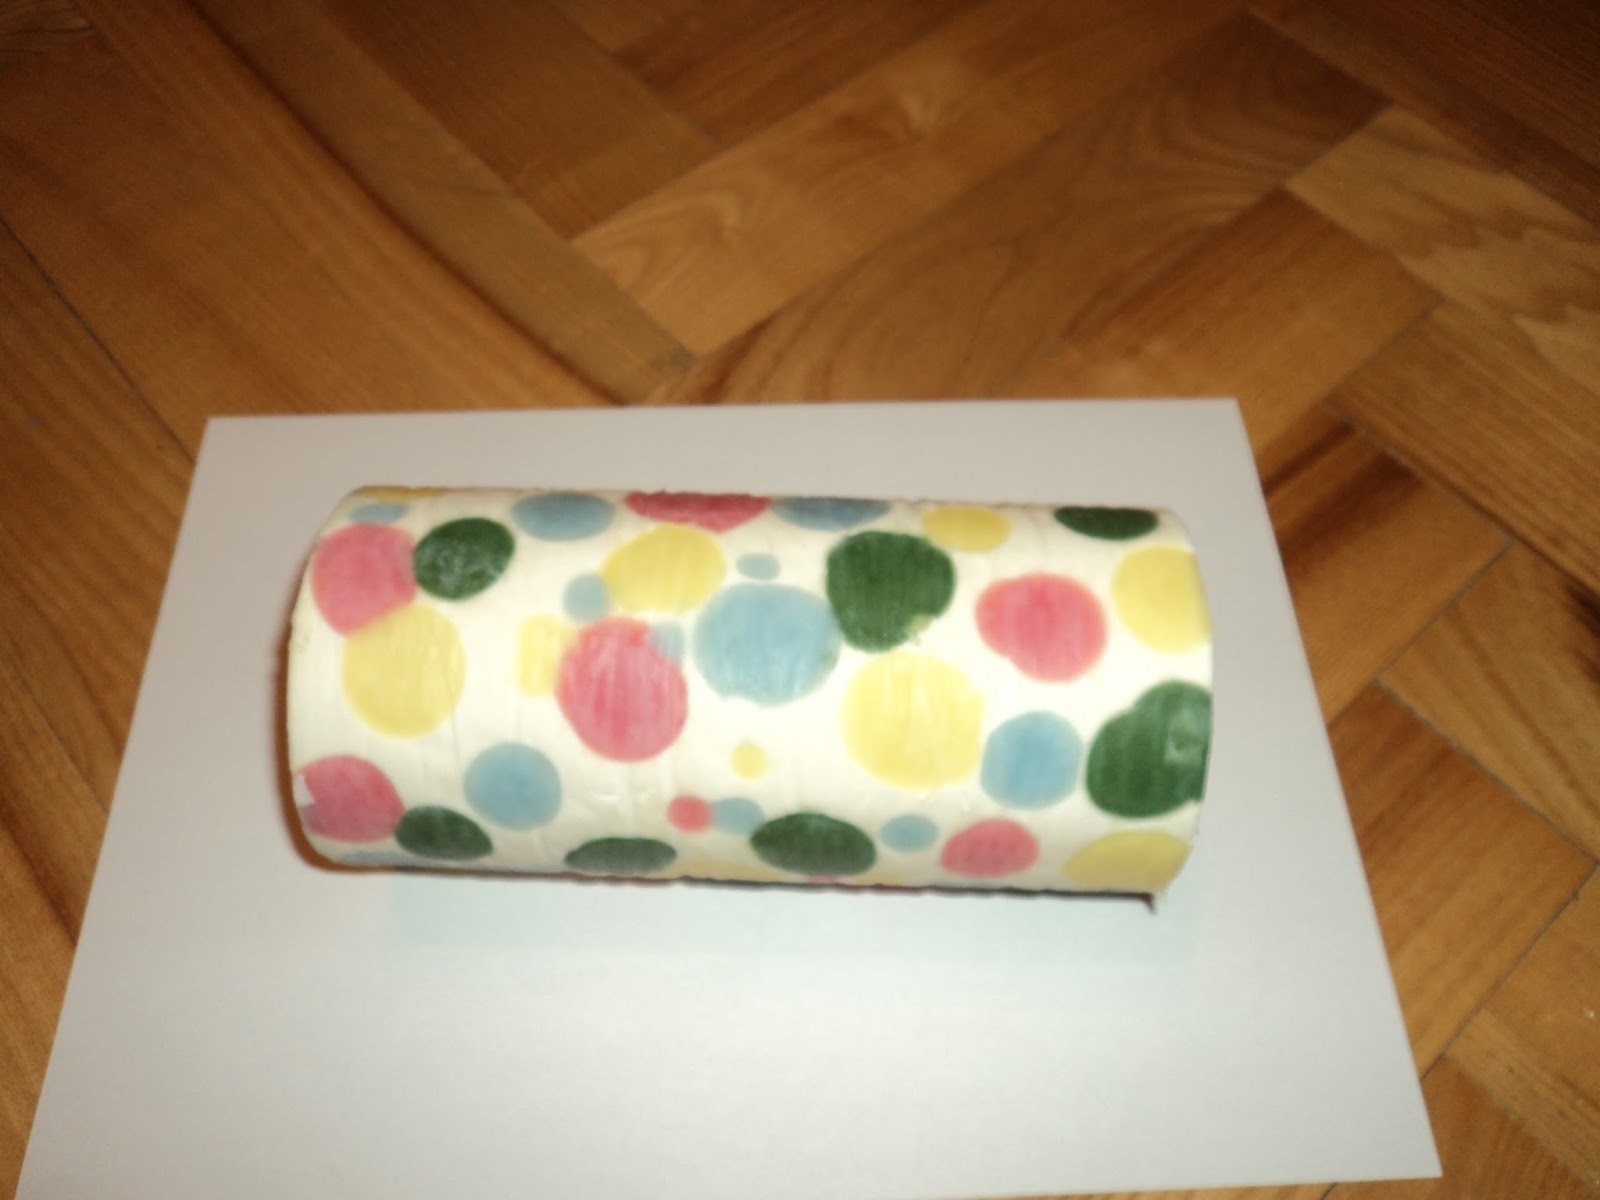
 I then covered this with white soap and using squirt bottles and piping bags, I tried to create drop swirls from various heights with my already thickening batter. I decorated the top with tiny 'soap drops' from leftover soap, eventually creating a few random flowers.
The soap turned out MUCH prettier than I had expected so I was pleasantly surprised. And there wasn't one single glycerine river this time ... yay!


I am happy that I finally managed to find the time to participate in a soap challenge and make soap after such a long break. AND actually enter it for the challenge, which I tend not to do :-). I didn't have much time to learn how to take pretty pictures, but I hope these will do.
Thank you Amy for organising the challenge, thank you Tatsiana for sponsoring it and good luck to all my fellow soapers!


